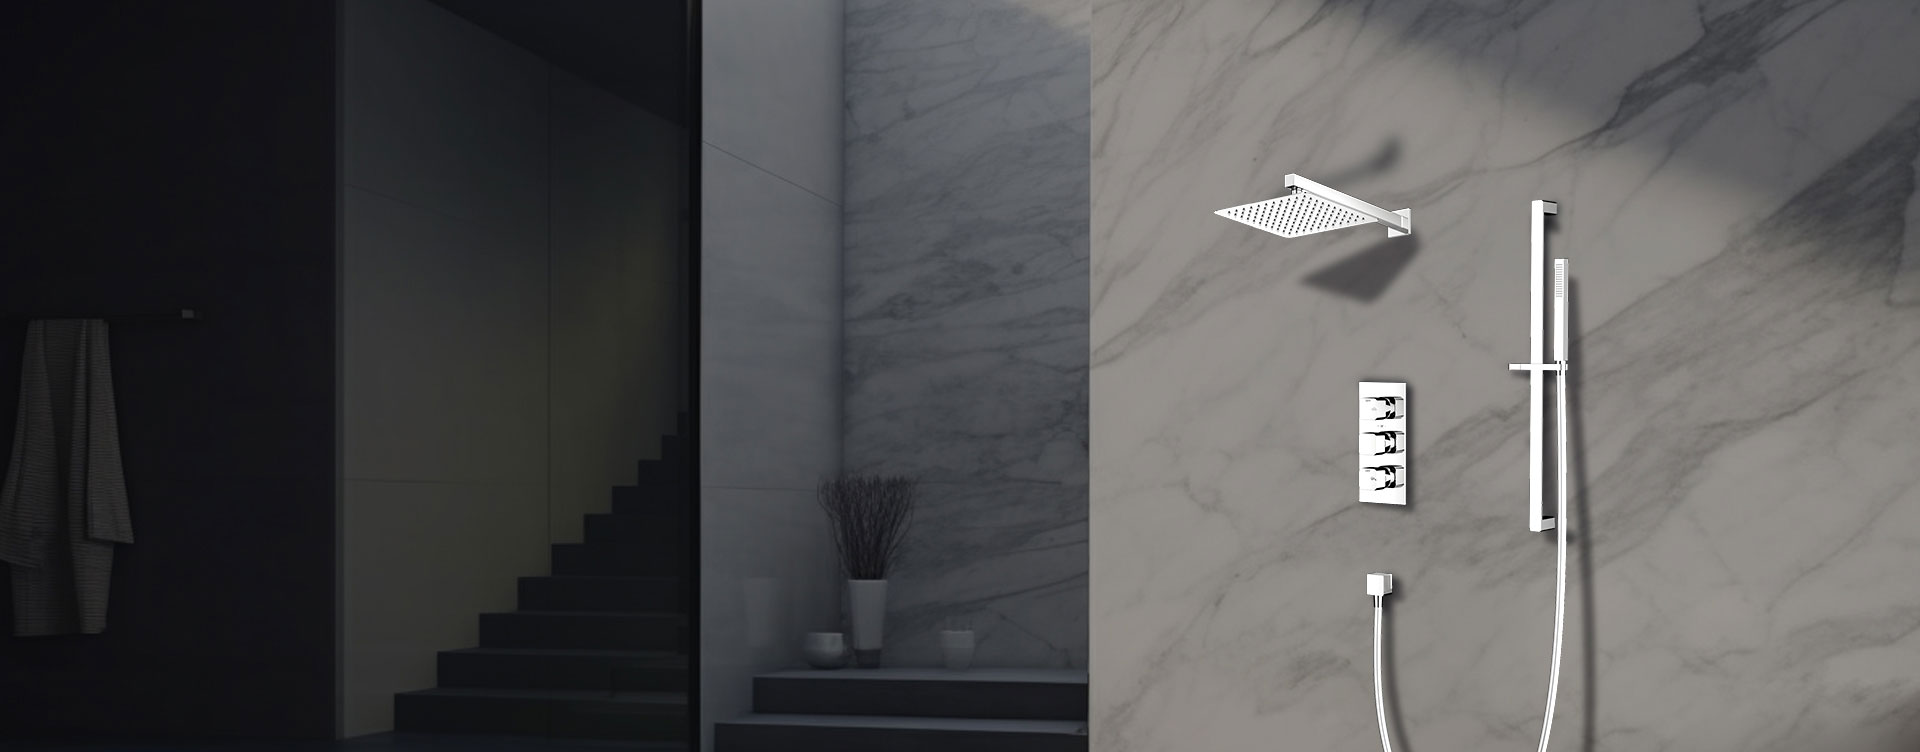
A Shower Column is a modern, all-in-one shower fixture that combines an overhead showerhead, hand showerhead, and sometimes a spray head onto a single vertical rod. It's a popular choice for bathroom upgrades, offering both practicality and style.
Shower column kit (with overhead and handheld showers)
Adjustable wrench
Drill with masonry/tile bit
Screwdriver
Wall plugs and mounting brackets (usually included)
Plumber’s tape (Teflon tape)
Silicone sealant
Level and measuring tape
Turn Off the Water Supply
Shut off the main water valve or the bathroom water line.
Remove the Old Fixture
Detach any existing showerhead or riser rail.
Clean the wall surface to remove old sealant and debris.
Check Water Connections
Most shower columns connect to existing hot and cold water outlets.
Ensure your plumbing setup matches the shower column specifications.
Measure the Height
Position the column so that the rainfall showerhead is comfortably above head height.
Ensure the handheld shower and controls are easily reachable.
Mark Bracket Holes
Use a pencil and level to mark where the brackets will be fixed.
Drill Holes
Drill into the tile/wall at the marked points.
Insert wall plugs to secure the brackets.
Attach Mounting Brackets
Fix the brackets securely to the wall with screws.
Fit the Shower Column
Place the shower column onto the brackets and tighten according to instructions.
Connect Water Inlets
Wrap plumber’s tape around threaded connections.
Connect the hot and cold water supply to the column’s mixer valves.
Ensure all joints are tight to prevent leaks.
Apply Silicone Sealant
Seal around the base to prevent water from seeping behind the unit.
Turn On the Water Supply
Slowly open the valves and check for leaks.
Test Each Function
Run the rainfall shower, handheld shower, and body jets (if included).
Ensure water pressure is balanced and controls function smoothly.
Adjust the angle of the rainfall shower head.
Position the handheld shower holder for easy access.
Wipe down the unit to remove fingerprints and debris.
Check Water Pressure: Shower columns often require good pressure to operate multiple functions.
Professional Installation: If new plumbing lines are required, hire a plumber.
Choose the Right Size: Ensure the column fits your bathroom space.
Match Finishes: Select a finish (chrome, brushed nickel, matte black) that complements your bathroom.
Installing a shower column involves mounting the unit securely, connecting it to existing water lines, sealing the base, and testing for performance. With proper preparation and careful installation, you can transform your bathroom into a luxury spa-like space.
Previous: What Is A Shower Column