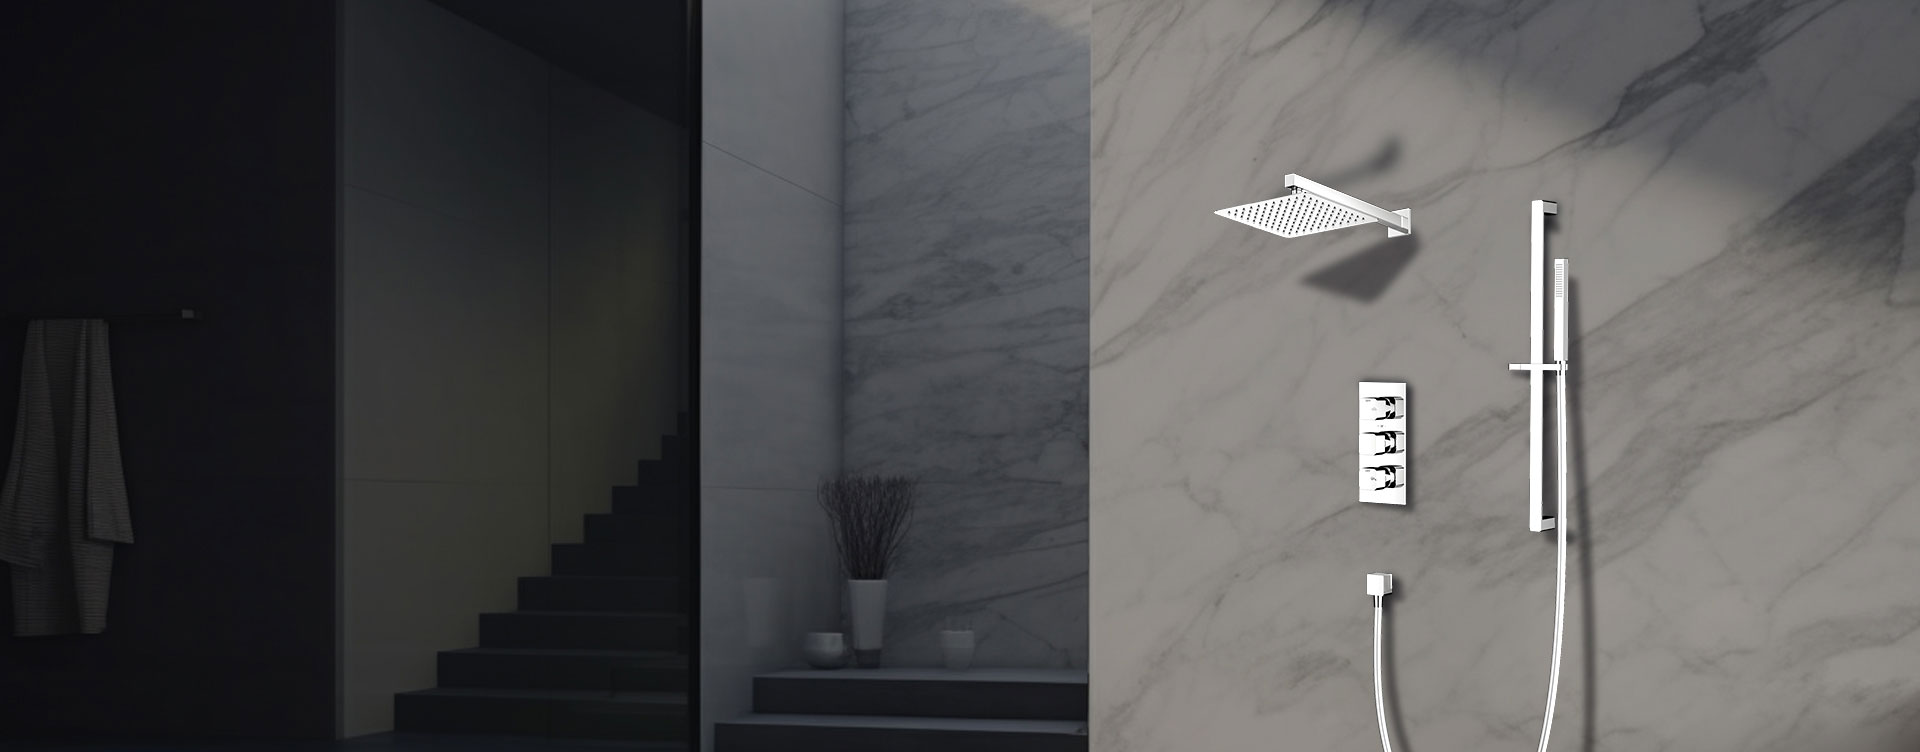
A Shower Column with a hand shower is a stylish and practical upgrade that combines an overhead rainfall shower with a flexible handheld showerhead. This design gives you both luxury and convenience—perfect for daily showers, cleaning the shower area, or assisting children and elderly users.
Shower column kit (including rainfall head, hand shower, hose, and mounting hardware)
Adjustable wrench
Drill with masonry/tile bit
Screwdriver
Wall plugs and screws (usually included)
Plumber’s tape (Teflon tape)
Silicone sealant
Measuring tape and level
Soft cloth to prevent scratches
Turn Off Water Supply
Shut off the main water line or the bathroom’s water valves.
Remove Old Fixtures
Unscrew and take off any old showerhead, riser, or rail system.
Clean the wall surface thoroughly.
Check Water Connections
Most shower columns connect to existing hot and cold water outlets.
Confirm that the outlets match the shower column’s inlet spacing.
Measure the Height
The overhead rainfall shower should sit comfortably above the tallest user’s head.
Ensure the hand shower holder is placed at an accessible level.
Mark Bracket Positions
Hold the shower column against the wall.
Use a pencil and level to mark mounting bracket holes.
Drill Carefully
Use a masonry or tile drill bit.
Insert wall plugs into the drilled holes to secure the brackets.
Fix Mounting Brackets
Secure them with screws and ensure they are level.
Attach the Shower Column
Hang or mount the column onto the brackets.
Tighten screws according to the manufacturer’s instructions.
Connect the Water Inlets
Wrap plumber’s tape around threaded fittings.
Connect the hot and cold water supply hoses to the column’s mixer valve.
Tighten connections with a wrench (use a soft cloth to prevent scratching).
Attach the Hose
Screw one end of the flexible hose to the column outlet.
Attach the other end to the handheld showerhead.
Secure the Holder
Mount the adjustable hand shower holder on the column at the desired height.
Apply Silicone Sealant
Seal around the wall connections to prevent water leaks.
Turn On Water Supply
Slowly open the valves.
Test both the overhead rainfall and hand shower functions.
Check for Leaks
Inspect all joints, hose connections, and wall fittings.
Tighten or reseal if necessary.
Adjust the angle of the rainfall showerhead.
Test the hand shower holder for stability.
Wipe down the shower column for a clean finish.
Check Water Pressure: Multi-function shower columns require good pressure for best performance.
Use Thermostatic Models: They keep water temperature consistent, preventing sudden hot or cold bursts.
Plan for Accessibility: Place the hand shower at a height convenient for all family members.
Choose the Right Finish: Match your shower column finish (chrome, matte black, brushed nickel) with other bathroom fixtures for a unified look.
Installing a Shower Column With Hand Shower involves mounting the vertical unit, connecting it to the water supply, and attaching the handheld hose and holder. With careful preparation and correct installation, you’ll enjoy a luxurious rainfall shower combined with the flexibility of a handheld sprayer, creating both comfort and convenience in your bathroom.
Previous: Can You Use A Twin Shower Pump As A Single
Next: What Is A Shower Column