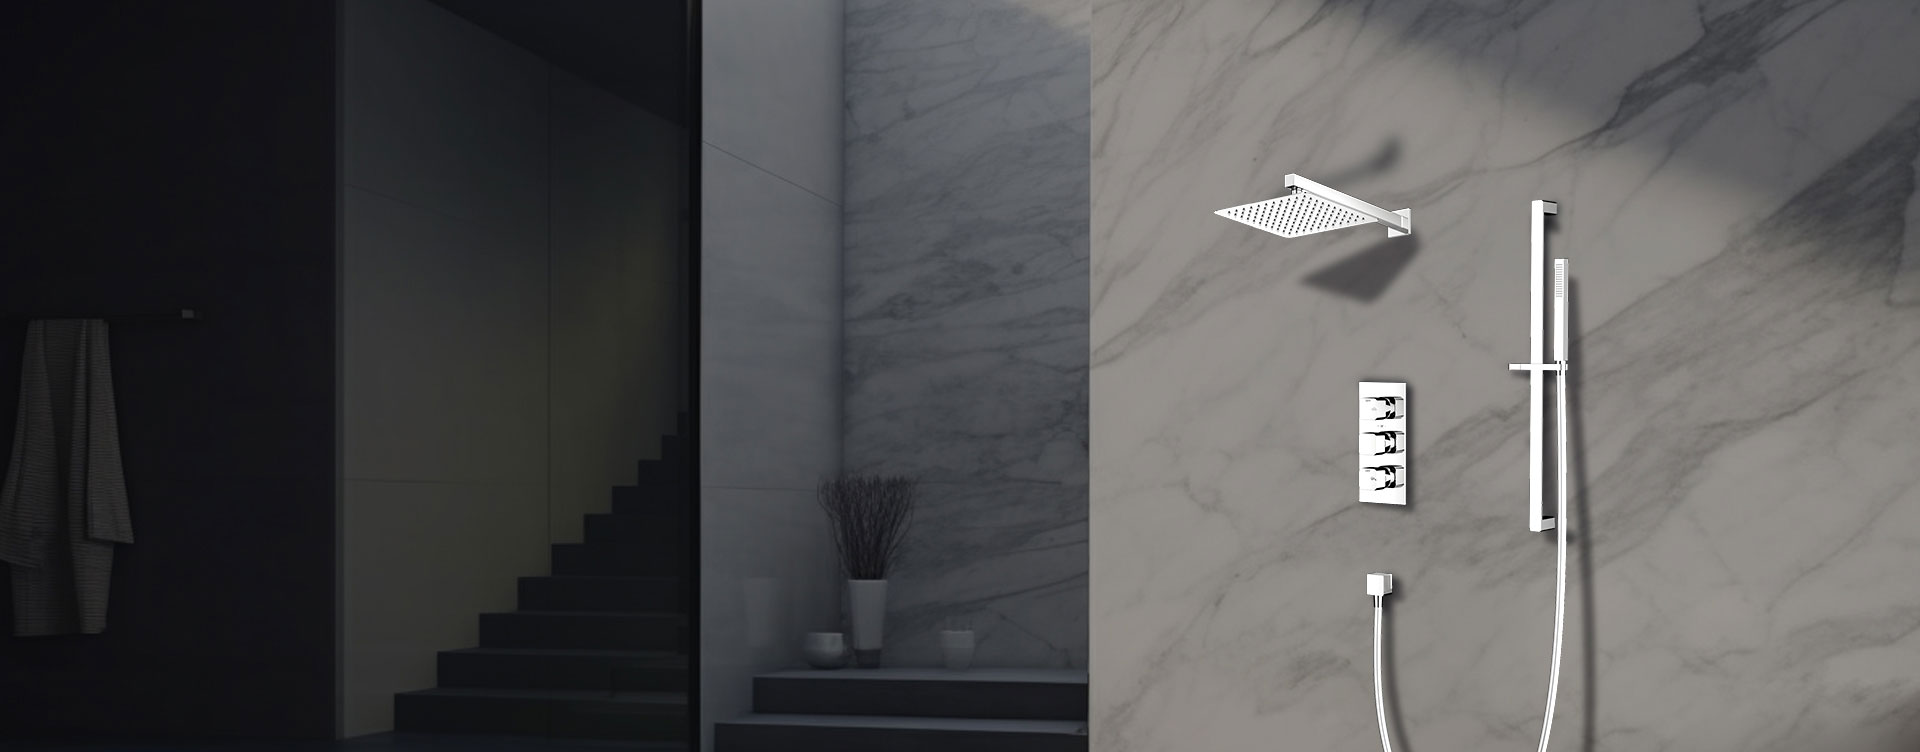
A shower faucet is one of the most important fixtures in any bathroom, controlling water flow and temperature. Over time, it may become worn out, start leaking, or simply look outdated. Knowing how to replace a shower faucet can save money on plumbing costs and give your bathroom a fresh upgrade.
New shower faucet set (valve, handle, trim kit)
Adjustable wrench
Screwdriver (Phillips and flathead)
Plumber’s tape (Teflon tape)
Allen wrench (for set screws)
Utility knife
Bucket or towel
Silicone sealant (if required)
Turn Off the Water Supply
Shut off the water at the main valve or bathroom shut-off valve.
Turn on the shower briefly to release pressure and drain any remaining water.
Cover the Drain
Use a towel or drain cover to prevent screws or small parts from falling into the drain.
Take Off the Handle
Locate the screw holding the handle (sometimes hidden under a cap).
Use a screwdriver or Allen wrench to remove it.
Remove the Trim Plate (Escutcheon)
Unscrew the trim plate from the wall.
Use a utility knife to cut away old caulk around the plate.
Access the Valve
With the trim removed, the valve and cartridge are exposed.
Pull out the old cartridge using pliers if necessary.
Insert the New Cartridge
Slide the new cartridge into the valve body.
Ensure it is aligned correctly (hot and cold sides should match).
Secure the Cartridge
Tighten the retaining nut or clip that holds it in place.
Apply Plumber’s Tape
Wrap Teflon tape around threaded connections to prevent leaks.
Reattach the Trim Plate
Screw the escutcheon back onto the wall.
Apply a thin bead of silicone sealant around the edges for waterproofing.
Attach the Handle
Secure the new handle with its screw and decorative cap.
Turn On the Water Supply
Slowly reopen the main valve.
Check for Leaks
Run the shower and check all connections.
If leaks appear, tighten fittings or reapply Teflon tape.
Adjust Handle Function
Make sure the handle smoothly controls both temperature and water flow.
Match Brands: Using the same brand for replacement ensures compatibility.
Consider an Upgrade: Thermostatic or pressure-balanced valves improve safety and comfort.
If Walls Are Tiled: Be careful not to crack tiles when removing trim.
Call a Plumber if Needed: If pipe modifications are required, professional help may be best.
Replacing a shower faucet involves turning off the water, removing the old handle and valve cartridge, installing the new parts, and checking for leaks. With the right tools and careful steps, you can upgrade your shower system and enjoy improved functionality and aesthetics.
Previous: How Much Does A Shower Cost