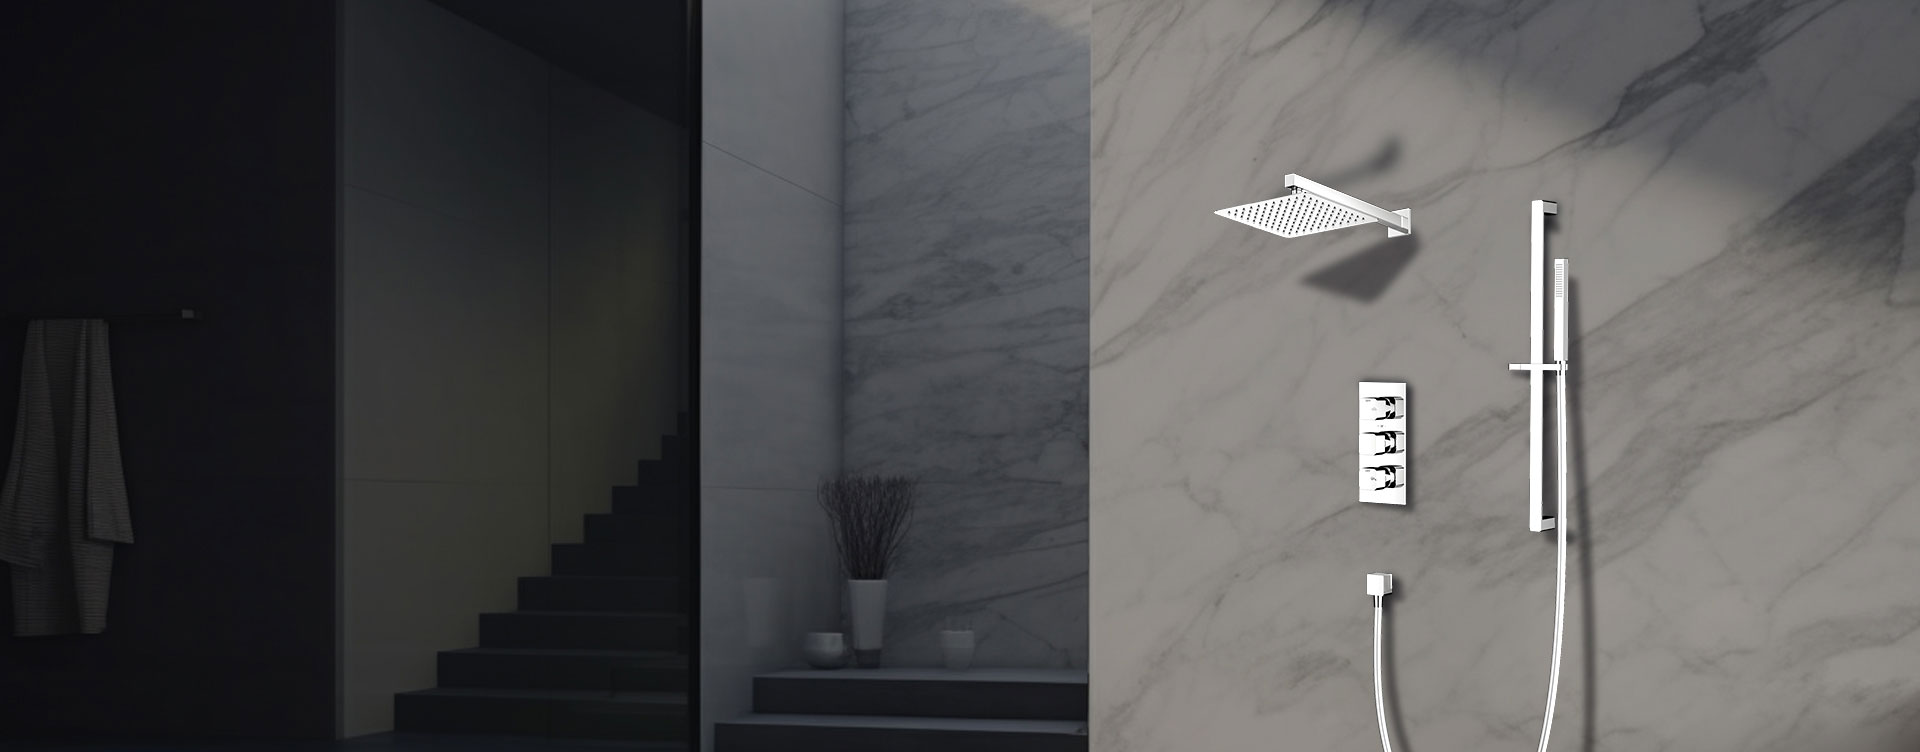
shower set (valve, trim kit, shower head, handheld, hoses, etc.)
Adjustable wrench / basin wrench
Screwdrivers (Phillips, flat)
Pipe wrench / pliers
Teflon (PTFE) tape, plumber’s tape
Drill and bits (if mounting brackets)
Silicone sealant / caulk
Level
Tape measure
Safety gear (glasses, gloves)
Shut off main water supply or the individual supply lines to that bathroom.
Open existing fixtures to relieve pressure.
Disconnect the old shower head, arm, valve trim, handles, etc.
Remove any trim plates, old caulk, and clean the wall area.
In the wall cavity, ensure the hot and cold supply pipes reach the correct centers for the new valve.
Mount the valve body firmly to studs, ensuring it’s level and positioned at the proper depth so that the finished trim will sit flush with the finished wall surface.
Connect the hot and cold water supply lines to the valve inlets using appropriate fittings and apply Teflon tape on threaded joints.
Install the diverter, cartridge, or internal parts according to the manufacturer’s instructions.
If your shower set includes a tub spout or diverter to the drain, connect the outlet to the shower drain line securely and ensure a watertight seal.
Wrap Teflon tape around the threads of the shower arm.
Screw the arm into the outlet on the valve or into wall plumbing.
Attach the shower head to the arm (again using Teflon tape for seals).
If there is a handheld unit, mount the bracket on the wall, connect the hose, and attach to the handheld.
Install the escutcheon or trim plate over the valve opening.
Insert the handle(s) onto the valve stem(s) and secure them (screws, set screws).
Ensure the handles move smoothly and align properly.
Use silicone sealant around the edges of trim plate or wall joints to prevent water infiltration.
Tighten all fasteners and ensure everything is straight and stable.
Turn the water supply back on slowly.
Check for leaks at all connections (valve, hose, joints).
Operate the shower, test hot and cold, diverter functions, pressure.
Make any adjustments or tighten leaks.
Ensure water flows properly with no drips or leaks.
Wipe excess sealant.
Install any decorative caps or covers.