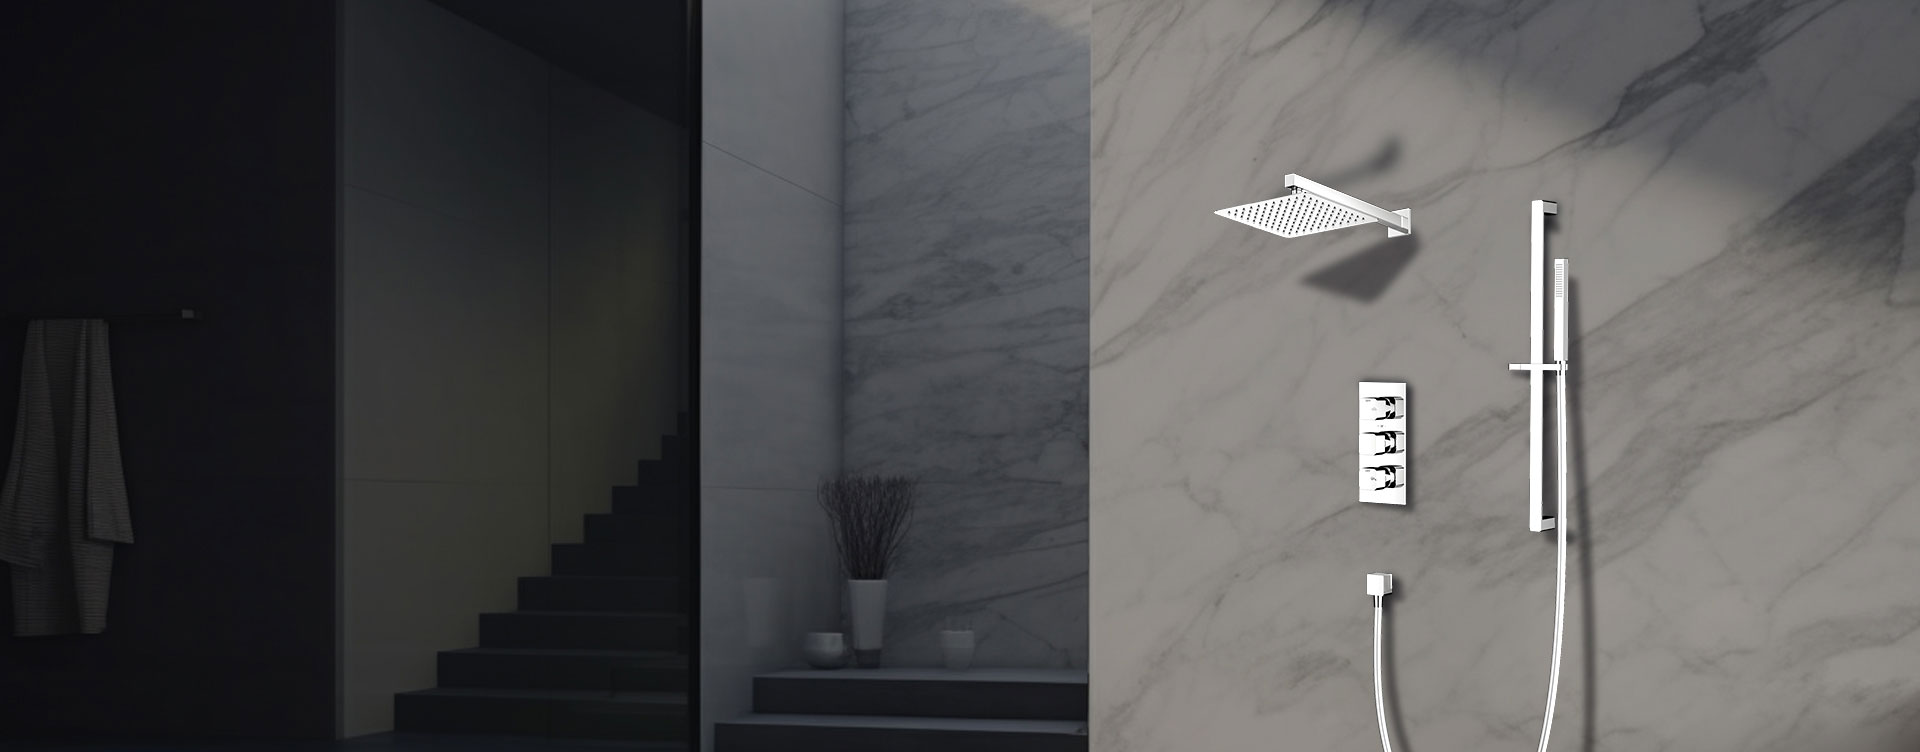
A rain shower set transforms your bathroom into a luxurious, spa-like space by delivering a broad, soothing stream of water from above. Installing one correctly ensures even water pressure, leak-free performance, and long-term durability.
A complete rain shower set typically includes:
Rain shower head (ceiling- or wall-mounted)
Shower arm or ceiling drop pipe
Mixer valve or thermostatic valve
Diverter (if combined with a handheld shower or body jets)
Wall or ceiling brackets
Concealed water lines
Trim plate and handles
Global Moon Shower sets are available in concealed and exposed designs — the former hides plumbing in the wall for a clean, minimalist look.
| Tool | Purpose |
|---|---|
| Drill with tile or masonry bits | Mounting wall brackets |
| Adjustable wrench | Tightening fittings |
| Plumber’s tape (Teflon tape) | Sealing threads |
| Level and measuring tape | Ensuring alignment |
| Silicone sealant | Waterproofing joints |
| Screwdrivers and Allen keys | Installing trim and handles |
| Safety gloves and goggles | Protection during work |
Ceiling-mounted: Delivers a natural rainfall effect directly overhead. Ideal for larger bathrooms.
Wall-mounted: Easier installation, suitable for existing plumbing lines.
Standard rain shower heads are installed 2100–2300 mm (82–90 inches) above the floor.
Adjust based on ceiling height and user preference.
Rain showers perform best at minimum 1.5–3 bar (22–44 psi).
If pressure is low, install a Twin Shower pump or pressure booster.
Adequate pressure ensures full spray coverage and prevents weak flow from large shower heads.
Turn off the main water supply.
Mark the valve position — typically between 900–1100 mm (35–43 inches) above the floor.
Cut the wall opening (if concealed type) to fit the valve body.
Connect the hot and cold water pipes to the valve’s respective inlets.
Attach outlets leading to the rain shower and handheld spray.
Secure the valve body to the wall structure with screws or brackets.
Test for leaks before closing the wall.
Global Moon Shower Thermostatic Valves maintain precise temperature control, preventing sudden fluctuations.
Wrap plumber’s tape around the wall outlet threads.
Screw in the shower arm until snug — use a soft cloth to protect the finish.
Attach the rain shower head to the end of the arm.
Hand-tighten, then give a slight turn with a wrench if needed.
Adjust angle and direction to preference.
Install the ceiling drop pipe into the pre-plumbed outlet above the shower area.
Secure the pipe with flange or decorative cover plate.
Attach the rain shower head to the lower end of the pipe.
Ensure the fixture is level and sealed properly.
Use silicone at ceiling or wall joints to prevent moisture from entering behind tiles.
Attach a diverter valve (often built into the mixer body).
Connect the hand shower hose to its outlet port.
Mount the hand shower holder at a convenient height (~1200 mm from the floor).
Test switching between rain head and handheld spray to ensure smooth operation.
A dual-function diverter in Global Moon Shower sets allows effortless switching without losing pressure.
Place the decorative cover plates and handle trims over the valve.
Secure them using set screws or snap-on fittings.
Wipe away any excess sealant or dust.
Recheck that all visible parts are aligned and level.
Turn on the water supply.
Run the system through all modes (rain, hand shower, etc.).
Check for leaks at every connection point.
Verify stable temperature and pressure.
Adjust the shower head angle for optimal coverage.
If dripping persists after shut-off, recheck the cartridge or internal seals.
Clean nozzles periodically to remove mineral buildup.
Wipe surfaces with a soft cloth after each use to prevent water spots.
Avoid harsh cleaners — use mild soap and water only.
Descale regularly if you live in hard-water areas.
Global Moon Shower’s rain heads feature silicone spray nozzles that resist clogging and make maintenance easy.
| Step | Task | Key Tip |
|---|---|---|
| 1 | Plan and measure installation | Confirm water pressure and height |
| 2 | Install valve and plumbing | Test for leaks before sealing wall |
| 3 | Attach shower arm and head | Use Teflon tape on all threads |
| 4 | Connect diverter and hand shower | Ensure flexible hose routing |
| 5 | Final test and finish | Check for leaks and level alignment |
Installing a rain shower set combines precision plumbing and careful finishing. When installed correctly, it offers a modern, relaxing shower experience with consistent water pressure and temperature.
For homeowners or project managers seeking reliable quality and design, Global Moon Shower provides complete rain shower solutions — from minimalist wall-mounted units to concealed thermostatic systems with rainfall, handheld, and massage functions — all engineered for long-term performance and luxurious comfort.
Previous: Why Does The Shower Set Off Smoke Alarm