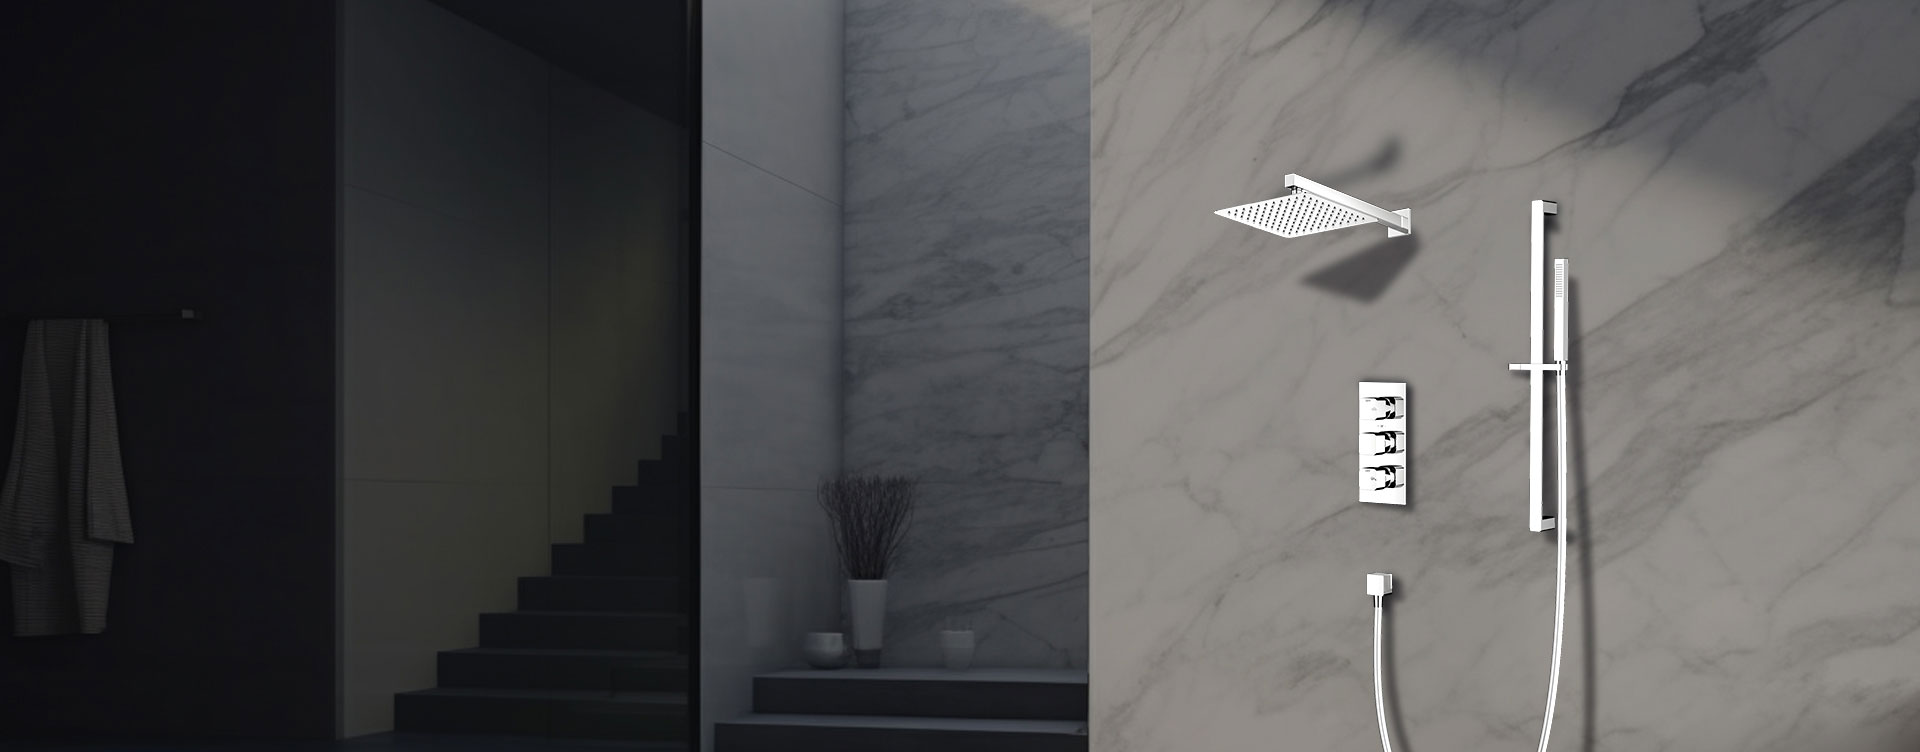
Changing a shower set is one of the most effective ways to refresh your bathroom, improve water performance, and upgrade the overall showering experience. Whether you’re replacing an outdated model or upgrading to a modern rain shower system, the process is straightforward with the right tools and preparation.
Before starting, turn off your main water supply to prevent leaks or flooding.
Adjustable wrench or spanner
Screwdrivers
Drill (for mounting brackets, if needed)
Plumber’s tape (Teflon tape)
Silicone sealant
Level and measuring tape
Bucket and rags
Safety gloves and goggles
Make sure to have your new shower set (rainfall, mixer, or panel system) ready, including all installation accessories such as wall brackets, hoses, and fittings.
Different systems have slightly different replacement procedures. Identify your current setup first:
| Shower Type | Description | Replacement Notes |
|---|---|---|
| Exposed Shower Set | All components (pipe, valve, showerhead) are visible on the wall | Easiest to replace; minimal wall modification |
| Concealed Shower Set | Valve and pipes are hidden inside the wall | More complex; may require tile removal |
| Shower Panel System | Integrated vertical unit with multiple functions | Can replace most exposed showers without major plumbing changes |
Global Moon Shower systems are designed for easy retrofitting with standard ½-inch pipe fittings compatible with most existing setups.
Shut off both hot and cold water. Open the old Shower Valve to release pressure and drain any remaining water.
Unscrew the showerhead using a wrench or by hand.
Wrap a cloth around chrome parts to avoid scratches.
Remove the shower arm from the wall outlet if replacing it.
Loosen the nuts connecting the mixer valve to the water pipes.
Carefully detach the valve from the wall.
Cap the pipe ends temporarily to prevent debris from entering.
Remove old sealant, rust, and mineral deposits around fittings.
Check for any leaks or corrosion in the pipe connections.
Use the supplied template or the old fitting holes to align the new shower.
Ensure that the new shower mixer is level and at a comfortable height (around 1000 mm / 39 inches above the floor).
Wrap Teflon tape around all threaded connections to ensure a watertight seal.
Connect hot (left) and cold (right) supply lines to the corresponding inlets.
Tighten connections gently with a wrench.
For thermostatic models, ensure correct water line direction — reversing the inlets can cause temperature imbalance.
Screw the shower arm into the wall outlet using Teflon tape on threads.
Attach the rain shower head and hand-tighten until secure.
Adjust angle and alignment.
Mount the wall bracket or sliding bar using a drill and wall plugs.
Connect the flexible hose to the hand shower outlet and tighten.
Snap the handheld shower into the holder.
Seal around wall joints or pipe outlets to prevent water seepage.
Avoid sealing the bottom edge of wall brackets to allow air circulation.
Turn on the main water supply.
Slowly open the shower valve to check water flow.
Test all functions (rainfall, handheld, jets, etc.).
Inspect every connection for leaks — tighten if necessary.
Confirm stable water temperature and pressure.
Global Moon Shower systems are built with anti-leak cartridges and pressure-balanced valves, ensuring long-term reliability after installation.
Wipe the chrome or stainless steel parts with a soft cloth.
Remove any fingerprints or sealant residue.
Let the silicone sealant cure for 24 hours before heavy use.
Clean silicone nozzles on the showerhead regularly to prevent limescale buildup.
Check connections every 6–12 months for wear or leaks.
Avoid harsh chemical cleaners — use mild soap and warm water.
Replace worn hoses or gaskets promptly to maintain efficiency.
For long-lasting performance, Global Moon Shower products use 304 stainless steel, anti-corrosion finishes, and self-cleaning spray nozzles.
| Step | Task | Key Point |
|---|---|---|
| 1 | Turn off water and remove old set | Drain system completely |
| 2 | Clean and inspect fittings | Ensure solid wall base and tight threads |
| 3 | Install new mixer and showerhead | Use Teflon tape for watertight seals |
| 4 | Connect hand shower and hose | Check direction of inlets |
| 5 | Test for leaks and performance | Adjust pressure and temperature |
Changing your shower set is a manageable home improvement project that delivers immediate comfort and style benefits. Whether you’re upgrading to a rainfall shower, a dual-function system, or a modern panel design, careful installation ensures smooth operation and lasting quality.
For durable, easy-to-install systems built with precision-engineered valves and sleek finishes, consider Global Moon Shower — a trusted manufacturer of modern shower solutions for homes, hotels, and commercial spaces.
With the right tools, attention to detail, and quality components, you can transform your bathroom into a luxurious, spa-like retreat in just a few hours.