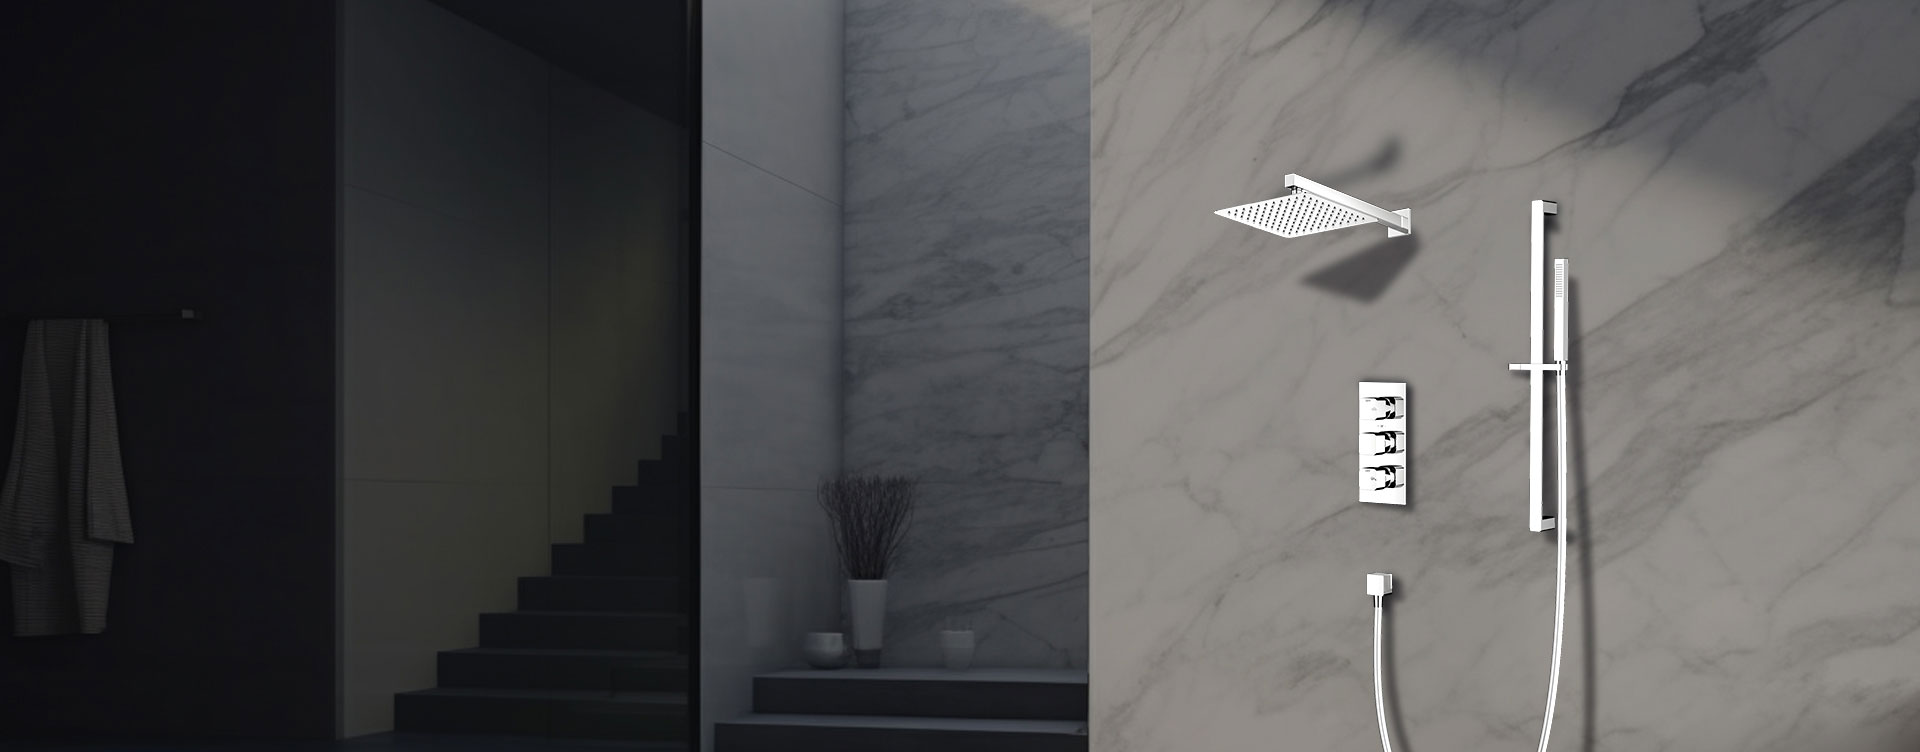
Installing a tub and shower set is one of the most important steps in creating a reliable and comfortable bathroom. Whether you’re upgrading your bathroom or fitting a new system, proper installation ensures leak-free performance, stable water pressure, and a long service life.
Adjustable wrench and pipe wrench
Screwdrivers (flat and Phillips)
Drill and bits
Pipe cutter
Plumber’s tape (Teflon tape)
Silicone sealant
Measuring tape and level
Tub and shower faucet set
Water supply lines (hot and cold)
Soldering tools or compression fittings (depending on plumbing type)
Safety gloves and goggles
Shut off the main water valve or bathroom supply line before starting. Open nearby faucets to release remaining pressure.
Inspect your plumbing pipes for corrosion or leaks. Ensure you have hot water on the left and cold on the right. Verify that the existing wall framing supports the valve assembly securely.
Use the manufacturer’s template to mark the locations for the valve, showerhead outlet, and tub spout.
Typical height standards:
Shower Valve: 100–120 cm (40–48 inches) from the floor
Showerhead: 190–210 cm (75–82 inches) from the floor
Tub spout: 15–20 cm (6–8 inches) above the tub rim
Position the shower mixing valve between the wall studs.
Ensure the “UP” mark faces correctly and that the valve depth aligns with the finished wall surface (after tiles).
Secure the valve body using screws or mounting brackets.
Attach the hot and cold pipes to their corresponding inlets using compression fittings or solder joints.
Apply plumber’s tape on threaded joints to prevent leaks.
Connect the top outlet to the showerhead pipe and the bottom outlet to the tub spout pipe.
Before closing the wall, turn on the water temporarily to test for leaks. Fix any dripping joints immediately.
Wrap Teflon tape around the pipe threads extending from the wall.
Screw the tub spout onto the pipe until snug and aligned.
Ensure the outlet faces downward directly into the tub.
Seal the gap between the wall and spout base with silicone caulk to prevent water intrusion.
Apply plumber’s tape on the shower arm threads.
Insert the shower arm into the wall fitting and tighten gently.
Attach the showerhead to the outer end of the arm.
Adjust the angle and ensure a watertight fit.
For handheld shower systems, mount the slide bar or bracket at a comfortable height, then connect the flexible hose and handheld sprayer.
Once the wall is tiled and sealed:
Attach the escutcheon plate (trim plate) over the valve.
Install the handle or thermostatic control knob according to the manufacturer’s orientation.
Tighten set screws securely.
Apply a small bead of silicone sealant around the trim plate edge to prevent moisture entry.
Use mold-resistant silicone caulk around the joints where the tub meets the wall.
Smooth the bead with a wet finger or finishing tool.
Allow caulk to cure for 24 hours before using the shower.
Clean excess residue and polish fixtures with a soft cloth.
Turn on the main water supply and check all functions:
Verify that hot and cold are balanced correctly.
Test both tub spout and showerhead for even pressure.
Inspect for leaks around joints, handles, and trim.
Confirm that diverter operates smoothly (switching between tub and shower).
If using a Global Moon Shower thermostatic system, the internal cartridge will automatically balance water pressure to prevent temperature fluctuation, offering consistent and safe operation.
Wipe fixtures dry after use to prevent water spots.
Reapply caulk every 5–7 years or when cracks appear.
Clean showerheads regularly to remove limescale buildup.
Check for minor leaks annually around the trim and connections.
| Step | Task | Key Tip |
|---|---|---|
| 1 | Prepare and turn off water | Check pipe alignment and wall studs |
| 2 | Install mixing valve | Use Teflon tape and test for leaks |
| 3 | Attach tub spout | Seal with silicone |
| 4 | Fit shower arm & head | Adjust angle before tightening |
| 5 | Install trim & handles | Apply waterproof sealant |
| 6 | Test system | Verify temperature and pressure balance |
Installing a tub and shower set requires precision, waterproofing, and proper balancing of water pressure. Using certified materials and thermostatic components—such as those engineered by Global Moon Shower—ensures lasting performance, water efficiency, and a comfortable bathing experience.
Previous: How To Install Hand Shower Set