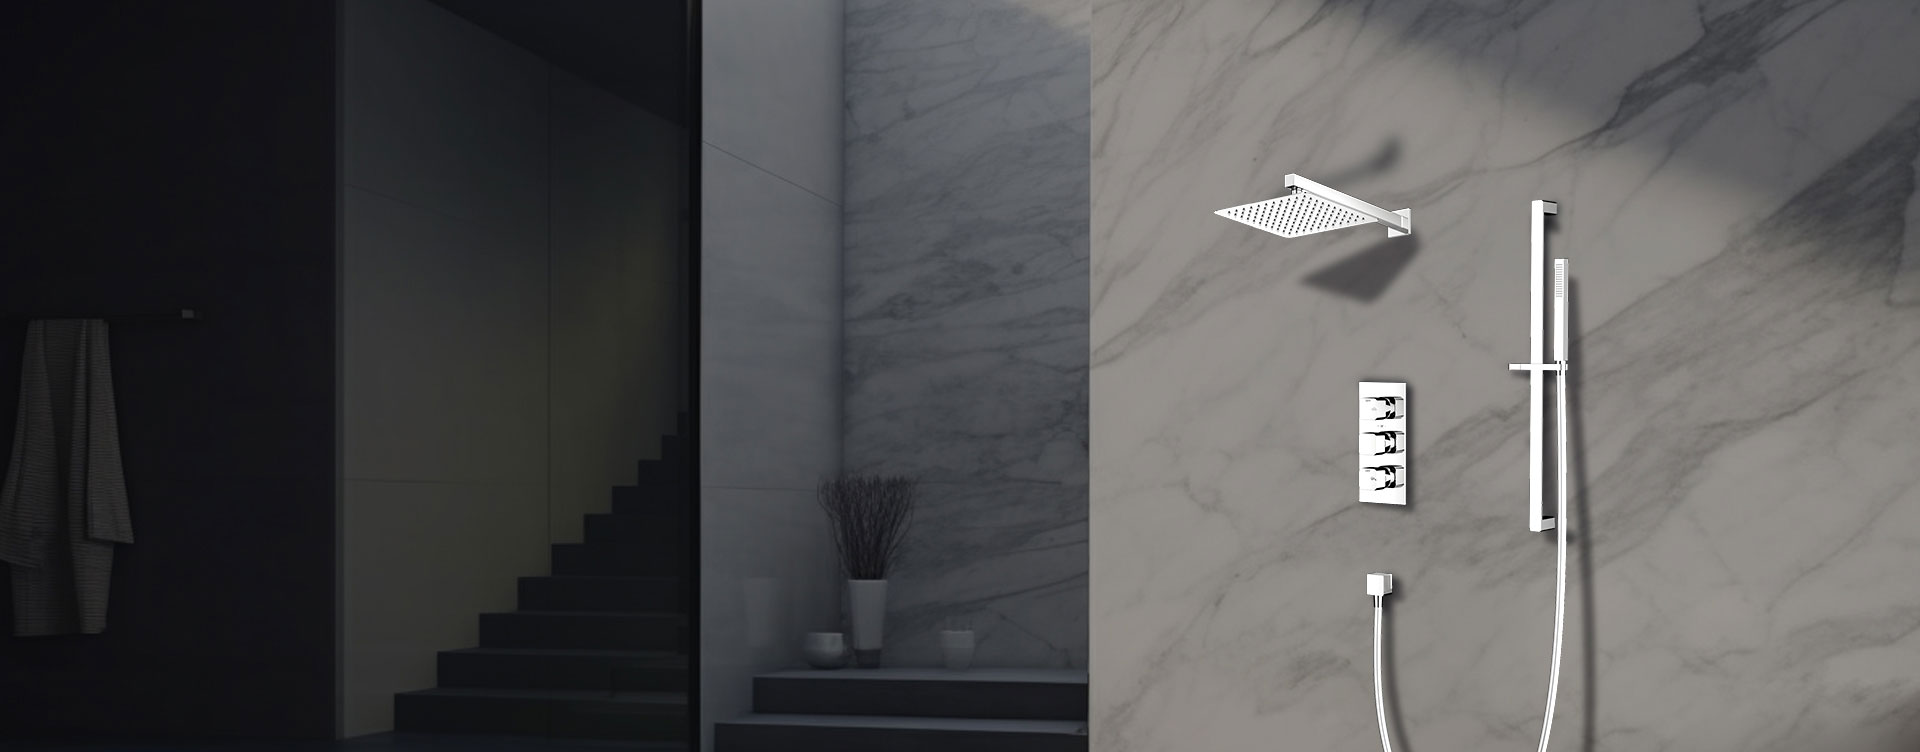
Installing a hand shower set is an excellent way to upgrade your bathroom for more flexibility and comfort. A hand shower allows you to easily rinse off, clean the shower area, or bathe children and pets — all while maintaining a sleek, modern design.
This detailed guide will walk you through how to install a hand shower set, based on professional installation practices and design standards inspired by Global Moon Shower — a specialist in premium shower systems and accessories for modern bathrooms.
A standard hand shower set usually includes:
Hand shower head
Flexible stainless steel or PVC hose
Wall bracket or adjustable slide bar
Diverter or mixer outlet (depending on your setup)
Optional components in advanced systems may include:
Thermostatic mixer valve
Rainfall overhead shower
Integrated diverter knob
Global Moon Shower hand shower sets are compatible with most standard plumbing systems and available in wall-mounted or concealed configurations.
| Tool | Purpose |
|---|---|
| Adjustable wrench | Tightening hose and fittings |
| Drill with tile/masonry bits | Installing wall bracket or bar |
| Plumber’s tape (Teflon tape) | Sealing threaded joints |
| Level and pencil | Marking accurate positions |
| Silicone sealant | Waterproofing joints |
| Screwdrivers and anchors | Mounting wall hardware |
| Soft cloth | Preventing scratches on fittings |
Height: The ideal mounting height for a hand shower bracket is around 1200 mm (47 inches) from the floor.
Position: Place the hand shower on the wall adjacent to the main shower area, ensuring the hose can reach comfortably.
Reach: Verify the hose length (usually 1.5–2 meters) is long enough for your needs.
For dual systems with both a rainfall and hand shower, install the handheld unit lower and slightly to one side for ergonomic use.
Shut off both hot and cold lines before beginning any plumbing work.
Open the Shower Valve to release residual water pressure.
There are two common ways to connect a hand shower:
Through a Diverter Valve:
If your shower already has a diverter (a knob or switch to alternate between outlets), attach the hose directly to the diverter outlet.
Through a Wall Outlet Elbow:
Install a dedicated outlet fitting (usually brass or stainless steel) connected to the water supply line.
Wrap plumber’s tape on the threads and screw the outlet elbow securely into the wall.
Global Moon Shower designs use standard ½-inch BSP connections, making them compatible with most international plumbing fittings.
Hold the bracket against the wall at the desired height.
Use a level to ensure alignment and mark the drill holes.
Drill into the tile carefully using a ceramic or masonry bit.
Insert wall anchors and secure the bracket with screws.
Slide or snap the mounting cradle into place.
Measure and mark the positions of the top and bottom brackets.
Drill and anchor both points, then mount the slide bar.
Ensure the bar is straight and firmly secured.
Attach the adjustable holder that grips the hand shower handle.
Use a rubber gasket behind the bracket to prevent water infiltration.
Attach one end of the flexible hose to the water outlet or diverter.
Attach the other end to the hand shower head.
Tighten both ends by hand first, then lightly with a wrench if necessary.
Avoid over-tightening — it can damage the rubber washers or O-rings.
Wrap all threads with plumber’s tape to ensure leak-free connections.
If your wall outlet or bracket contacts the tile surface, apply a thin bead of clear silicone around the base for waterproofing.
Turn the water back on slowly.
Check for leaks around the hose connections and outlet.
Switch between shower modes (rain + hand shower if applicable).
Adjust spray settings to ensure consistent water flow.
Make sure the holder secures the hand shower firmly.
All Global Moon Shower hand showers are tested for balanced spray pressure and anti-leak performance before delivery.
Regular Cleaning: Wipe chrome or matte finishes with a soft, damp cloth after use.
Descaling: Soak the spray head in warm water and vinegar once a month to remove mineral buildup.
Hose Care: Avoid twisting or kinking the hose; hang it loosely after use.
Leak Check: Inspect washers and replace if drips appear over time.
The brand’s silicone nozzles are self-cleaning, ensuring steady water flow and minimal limescale accumulation.
| Step | Task | Key Tip |
|---|---|---|
| 1 | Turn off water supply | Always drain existing pressure first |
| 2 | Install diverter or outlet elbow | Wrap threads with Teflon tape |
| 3 | Mount wall bracket or bar | Use level for accurate placement |
| 4 | Connect hose and hand shower | Hand-tighten and test for leaks |
| 5 | Test and seal | Apply silicone for waterproof finish |
Installing a hand shower set is a simple yet impactful upgrade that enhances comfort and functionality in your bathroom. It adds versatility, making cleaning and bathing easier while offering a modern aesthetic.
For homeowners, contractors, or hotel projects seeking durable, easy-to-install, and elegant hand shower systems, Global Moon Shower provides a complete range of solutions — including thermostatic mixers, rain showers, and multifunction handheld sets — all designed for high performance, corrosion resistance, and effortless maintenance.
With proper installation and regular care, your new hand shower set will deliver reliable performance and a luxurious shower experience for years to come.