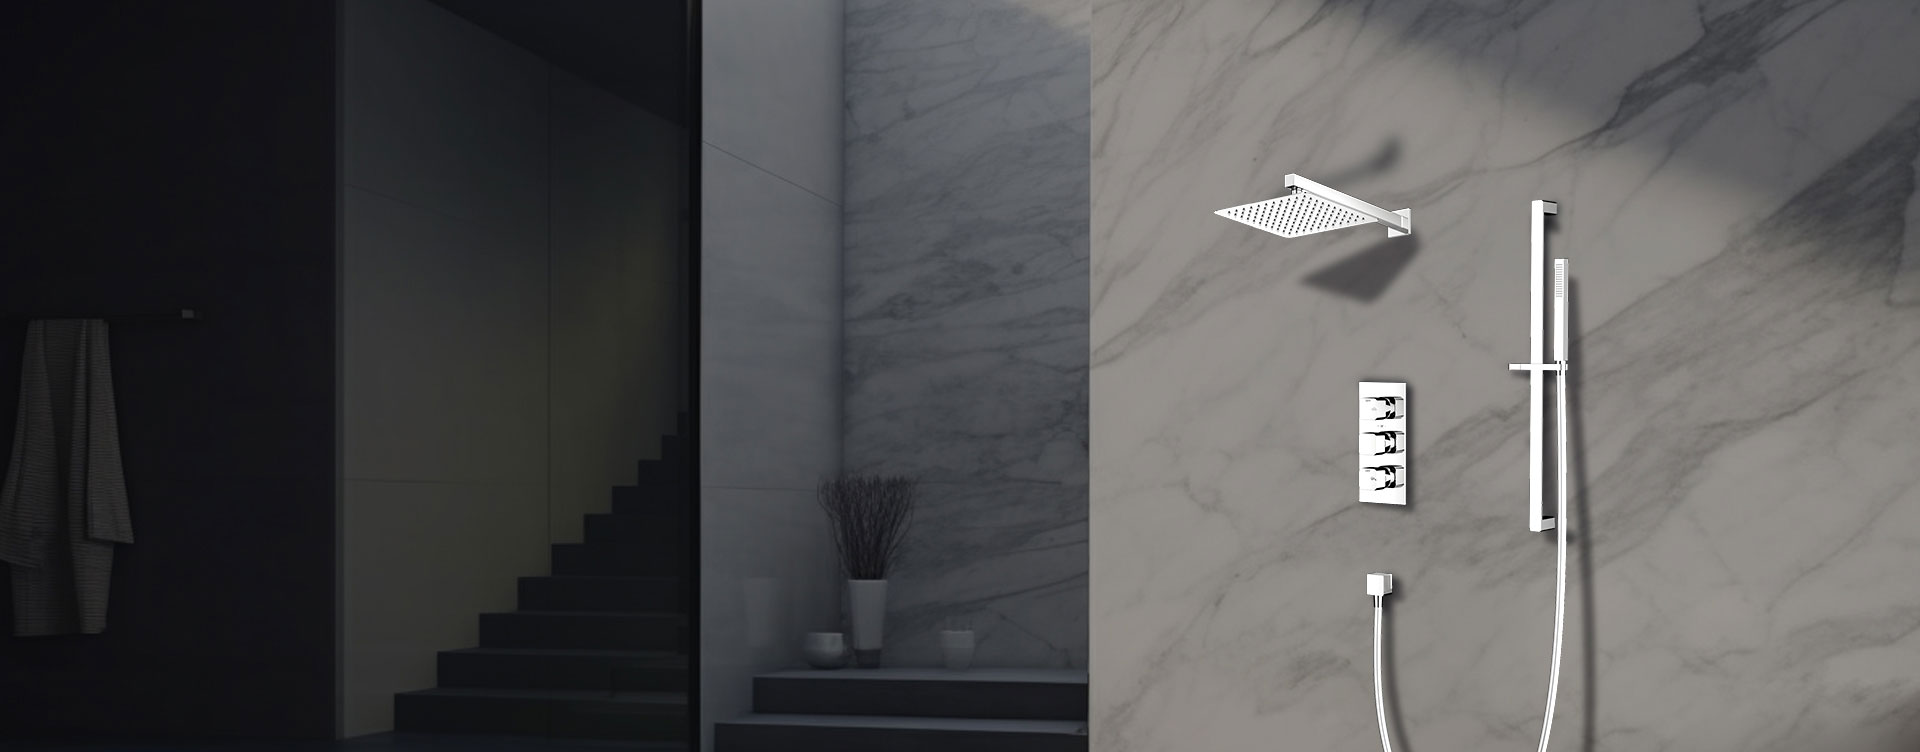
Installing a new shower set in a limited-space bathroom requires careful planning and the right product selection. Even if your bathroom is small or has tight corners, it’s entirely possible to fit a functional, stylish, and efficient shower system — as long as you optimize layout, water connections, and fixture size.
This professional installation guide, inspired by Global Moon Shower engineering and design standards, explains how to successfully install a new shower set when space is limited — ensuring both comfort and safety.
Before you begin, take precise measurements of your shower area.
Wall width and height where the shower will be installed.
Distance from existing fixtures (toilet, sink, or bathtub).
Shower enclosure or curtain area.
Plumbing connection points (hot, cold, and outlet positions).
For small bathrooms, every centimeter counts. A compact vertical layout — where the showerhead, mixer, and handheld unit align on one wall — saves both space and installation effort.
When space is tight, the type of shower system matters more than ever.
| Shower Type | Features | Space Suitability |
|---|---|---|
| Wall-mounted exposed shower set | All components visible and close to wall | Best for tight spaces; minimal in-wall modification |
| Column shower panel | Combines rain head, handheld, and diverter in one unit | Excellent for vertical installations |
| Hand shower with mixer | Simple two-point setup | Ideal for narrow or corner showers |
| Corner-mounted shower kit | Installed at 45° angle to maximize area | Great for corner spaces and small apartments |
Global Moon Shower offers slim-profile rain and hand shower systems designed specifically for compact bathrooms, ensuring powerful water flow without bulky fittings.
Install the rain shower, mixer, and hand shower holder in a straight line. This minimizes wall clutter and ensures a neat, ergonomic setup.
Showerhead height: 2100–2300 mm (82–90 in) from floor.
Mixer valve height: 1000–1100 mm (39–43 in).
Hand shower holder height: 1200 mm (47 in).
If your shower area is smaller than 900×900 mm, mount the shower set at an angle or within a corner recess. This provides better movement space and reduces water splashing.
A slide bar system allows adjustable height for family members, making it versatile in small bathrooms.
If wall space is limited horizontally, mount the rain shower head from the ceiling. It saves lateral room and adds a luxurious, vertical rainfall effect.
Shut off hot and cold water before any work begins. Open existing valves to release pressure.
Unscrew the old showerhead, mixer, and hose. Clean the wall area and check for corrosion or leaks in the pipes.
Use a pencil and level to mark where the new shower will go. Keep vertical alignment tight and centered.
Use existing pipe outlets if possible to avoid drilling new ones.
Wrap all threads with Teflon tape to ensure no leaks.
Tighten connections carefully with an adjustable wrench.
For wall-mounted units: screw directly into anchors and secure tightly.
For ceiling-mounted heads: install a drop pipe aligned to the water outlet above.
For panel systems: mount using pre-drilled holes and supplied brackets.
Attach the flexible hose to the lower outlet.
Mount the holder at a convenient height, or on a slide rail if multiple users share the space.
Apply clear silicone sealant around brackets and outlets.
Turn on water slowly and test for leaks, temperature balance, and spray performance.
Tip: Avoid sealing all edges of a panel system — leave a small gap for ventilation to prevent moisture accumulation behind the unit.
Choose a single unit that combines:
Rain shower
Hand shower
Mixer valve
Diverter
This eliminates the need for multiple wall penetrations.
If you’re remodeling, consider embedding the valve in the wall — it frees surface space and creates a minimalist look.
Compact soap trays, recessed shelves, and built-in niches reduce clutter around the shower area.
Transparent glass makes the bathroom appear larger, while frameless doors save space and are easier to clean.
Global Moon Shower offers slim, integrated fixtures designed for narrow bathrooms — combining efficient flow control with elegant design.
Wipe down shower surfaces after each use to prevent water spots.
Clean silicone nozzles regularly to maintain flow.
Check hose connections every few months for tightness.
Avoid harsh chemicals that may damage chrome or matte finishes.
High-quality stainless steel and brass fittings, like those used by Global Moon Shower, ensure long-lasting corrosion resistance even in compact, moisture-prone spaces.
| Step | Task | Key Tip |
|---|---|---|
| 1 | Measure and plan layout | Keep all fixtures in a vertical line |
| 2 | Select compact shower type | Panel or exposed set saves wall space |
| 3 | Install mixer and outlets | Use existing plumbing to avoid rework |
| 4 | Mount shower arm or ceiling drop | Ideal for tight bathrooms |
| 5 | Connect hand shower and seal | Use silicone for waterproof finish |
Limited space doesn’t mean you must compromise on comfort or aesthetics. With the right compact shower set, vertical design layout, and careful installation, you can achieve both style and functionality even in the smallest bathrooms.
For premium, space-efficient solutions — including slim rain showers, wall-mounted panels, and compact hand shower systems — explore Global Moon Shower. Their products are engineered for easy installation, modern design, and consistent water performance — perfect for today’s space-conscious homes and hospitality projects.
A smartly planned shower set installation turns even the smallest bathroom into a functional, spa-inspired retreat.
Previous: How To Install Wall Rain Shower Set