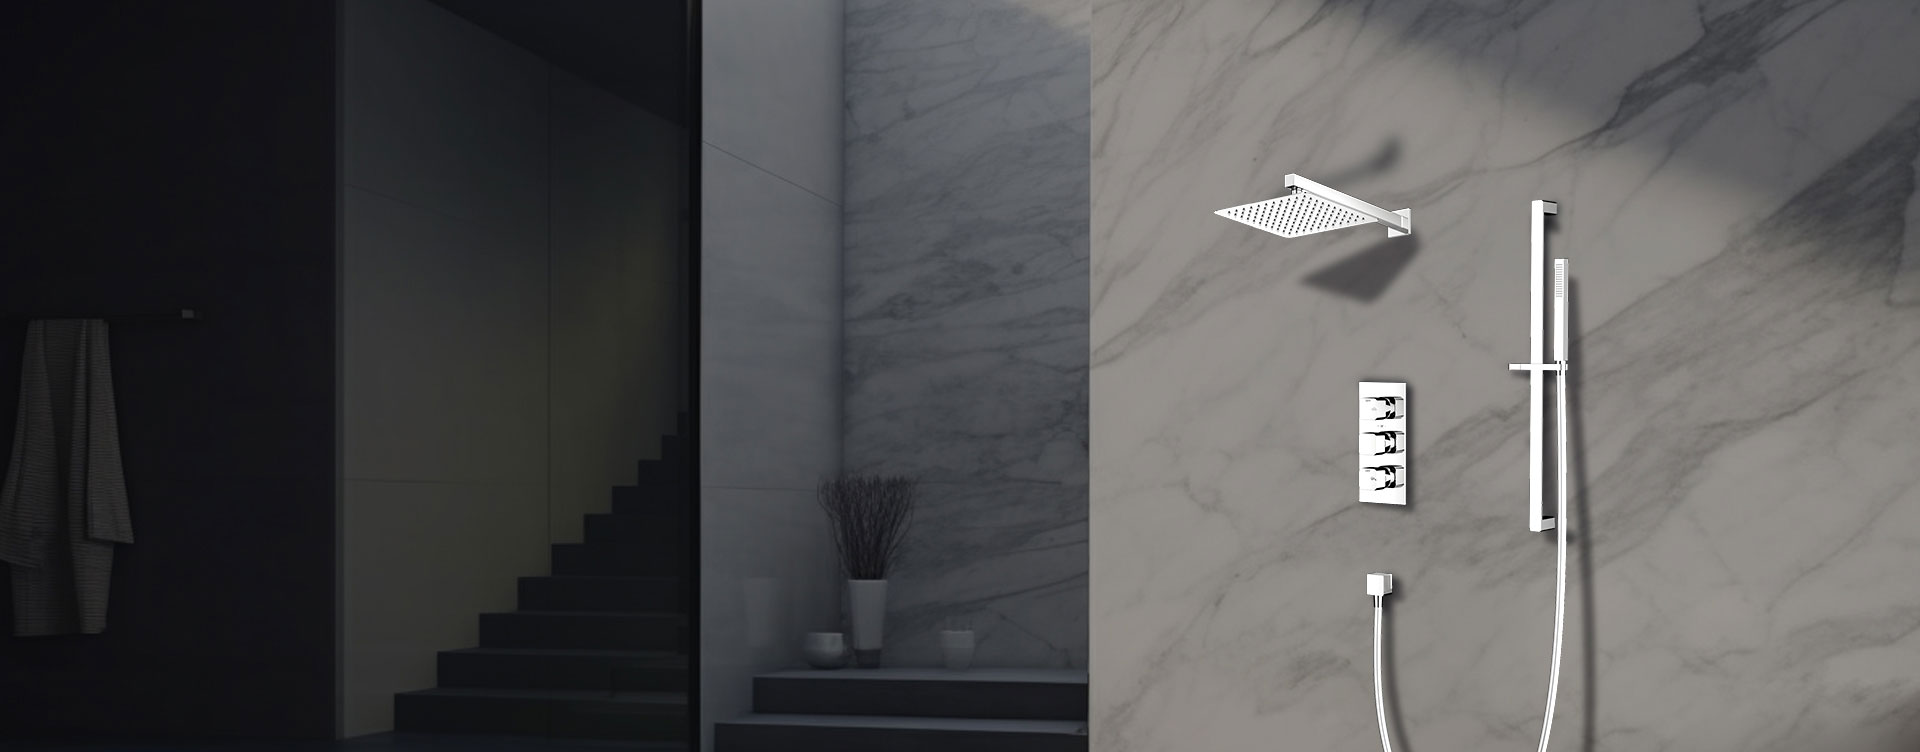
A wall rain shower set delivers a luxurious rainfall-like experience while maintaining a clean, minimal aesthetic. Whether you’re upgrading your bathroom or replacing an older fixture, installing a wall-mounted rain shower set is a rewarding project that improves both functionality and comfort.
A standard wall rain shower set typically includes:
Rain shower head (fixed or swivel type)
Shower arm (extends horizontally from the wall)
Mixer valve or thermostatic valve
Diverter (if hand shower or additional outlet included)
Hand shower, hose, and holder (optional)
Trim plate and control handles
Global Moon Shower sets are designed for easy installation with ½-inch standard plumbing fittings and corrosion-resistant brass or stainless steel construction.
| Tool | Purpose |
|---|---|
| Adjustable wrench | Tightening fittings and connections |
| Drill with tile or masonry bits | Mounting hardware |
| Plumber’s tape (Teflon tape) | Sealing threaded joints |
| Level and measuring tape | Aligning fixtures accurately |
| Silicone sealant | Waterproofing wall joints |
| Screwdrivers and anchors | Installing wall brackets |
| Safety gloves and goggles | Protecting hands and eyes |
Turn off both hot and cold water lines. Open an existing valve to release pressure.
Ensure that:
Hot and cold pipes are correctly placed (usually 150 mm apart).
Wall connections are stable and free from leaks or rust.
The wall surface is strong enough to support the shower arm and head.
| Component | Recommended Height from Floor |
|---|---|
| Mixer valve | 1000–1100 mm (39–43 inches) |
| Rain shower arm outlet | 2000–2200 mm (78–87 inches) |
| Hand shower holder (if included) | 1200 mm (47 inches) |
Adjust based on ceiling height and user preference. For tall users or high ceilings, extend the shower arm slightly upward.
Insert the valve body into the wall cavity.
Connect hot (left) and cold (right) water supply lines.
Use Teflon tape on all threaded joints for leak-free sealing.
Secure the valve body with brackets or screws.
Connect outlet pipes leading to the rain shower and hand shower (if applicable).
Test water flow before closing the wall to ensure there are no leaks.
Global Moon Shower Valves feature temperature stabilization technology, preventing scalding and ensuring consistent performance.
Wrap plumber’s tape around the wall outlet threads.
Insert the shower arm into the wall fitting and hand-tighten.
Use a wrench to finish tightening, protecting the finish with a cloth.
Ensure the arm extends level and is firmly secured.
Wall arms are typically 12–16 inches long; choose a length that provides comfortable overhead coverage.
Apply Teflon tape to the shower arm’s outer threads.
Screw the rain shower head onto the arm.
Tighten gently — avoid overtightening to prevent damage to the internal threads.
Adjust the shower head angle to center it directly over the user.
Global Moon Shower rain heads feature silicone nozzles for easy cleaning and uniform spray distribution.
If your set includes a hand shower:
Install the diverter valve (usually built into the mixer).
Drill and fix the hand shower holder or slide bar at the desired height.
Connect the flexible hose to the hand shower outlet.
Attach the hand shower head and test for smooth operation.
A dual setup — rainfall and handheld — enhances usability, ideal for rinsing or cleaning the shower area.
Seal around all wall joints and outlet covers to prevent moisture from entering behind the tiles.
Do not block ventilation holes on the valve trim plate.
Turn on the main water supply.
Check all connections for leaks.
Test both hot and cold flow.
Ensure smooth switching between rain head and hand shower (if included).
Observe water pressure and spray consistency.
If pressure is low, consider installing a Twin Shower pump for balanced and powerful flow.
Wipe after use: Dry the showerhead and arm with a soft towel to prevent water spots.
Descale regularly: Soak the head in a mild vinegar-water solution to remove mineral buildup.
Avoid harsh chemicals: Use gentle cleaners only.
Check seals periodically: Tighten any loose joints and replace washers when necessary.
With proper maintenance, a stainless-steel or brass rain shower set from Global Moon Shower will last for years without corrosion or leaks.
| Step | Task | Key Tip |
|---|---|---|
| 1 | Prepare and measure | Shut off water and mark fixture positions |
| 2 | Install valve | Use Teflon tape and test before sealing wall |
| 3 | Mount arm and head | Keep alignment level and avoid overtightening |
| 4 | Add hand shower | Optional; connect to diverter outlet |
| 5 | Seal and test | Check all joints for leaks and ensure stable flow |
Installing a wall rain shower set is a practical and stylish way to elevate your bathroom. With careful alignment, solid sealing, and quality fittings, you’ll achieve a sleek design and refreshing water performance comparable to high-end spa systems.
For durable, modern shower systems built with precision-engineered thermostatic valves, corrosion-resistant materials, and luxurious rain spray technology, consider Global Moon Shower. Their wall-mounted rain shower sets combine easy installation with reliable, long-term performance — ideal for both residential and hotel applications.
With the right planning and professional-grade materials, your new wall rain shower can deliver a spa-quality experience in any bathroom.